
Saturday, January 29, 2011


Friday, January 28, 2011

Wednesday, January 26, 2011
As #ITTU7 draws to a close, #ITTU8 is set for March 31st

Wednesday, January 19, 2011
Configuring Scan to Email and Scan to SMB on a #Lexmark C782
Late last year I was working on an installation in the US where a Lexmark C782 was delivered. What we found very quickly was that the manual, the online manual, and all downloadable manuals told you where to go to configure the printer on your network. What, sadly, they did not tell you was how to choose what values to to use. This blog is intended to rectify that omission and save others the several hours of support calls and experimentation to get a working printer. Ironically, this installation was in Lexington, the home of Lexmark!
Step 1 - Create a standard user on your Active Directory. Name it appropriately.
Make sure it does not expire, cannot have the password changed, and set a suitably complex password.
Step 2 - Scan to SMB
Note this assumes that you ahve created a network share on a server to receive the scans, and set the appropriate permissions for it)
Navigate to the web portal on the printer.
Go to the Link s & Index feature
Click on embedded solutions

Click on scan to network (note is not licenced, this is the free to use, simplified version) and get



Now back in the printer' web portal, go to the LDAP configuration option
The server below is the full UNC for a domain controller on teh network
 Note that the full DN is of the form CN=
,OU=...OU=..., DC=....


Step 1 - Create a standard user on your Active Directory. Name it appropriately.
Make sure it does not expire, cannot have the password changed, and set a suitably complex password.
Step 2 - Scan to SMB
Note this assumes that you ahve created a network share on a server to receive the scans, and set the appropriate permissions for it)
Navigate to the web portal on the printer.
Go to the Link s & Index feature
Click on embedded solutions

Click on scan to network (note is not licenced, this is the free to use, simplified version) and get
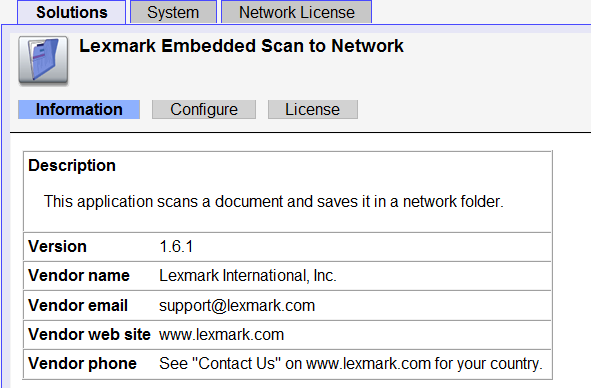
Click on Configure
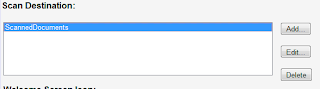
Add a destination (this screen grab is after the event, but you get the idea.


The user id is the netbios name of the user id (no domain name is required)


Step 3 - Scan to Email
On your exchange server create a new SMTP receiver explicitly for the Scan to Email facility


Now back in the printer' web portal, go to the LDAP configuration option
The server below is the full UNC for a domain controller on teh network


Then configure the SMTP Server:
Primary gateway is the full UNC to the server so . eg exchange.lexmark.local


if you follow this all, then Robert's your mother's brother.
Please note some images have been modified to remove client specific information
Subscribe to:
Posts (Atom)

 Posts
Posts

